pumpkin on a stick
Growing Your Own Mini Pumpkins
I acquired pumpkin on a stick from my local metro park back in the middle of June. I planted it by the month’s end. I wasn’t sure what to expect because frankly, I had never heard of pumpkin on a stick before, even though I had been exposed to the massive garden my grandfather planted every summer which included a variety of vegetables. This one seemed to miss out on the opportunity.
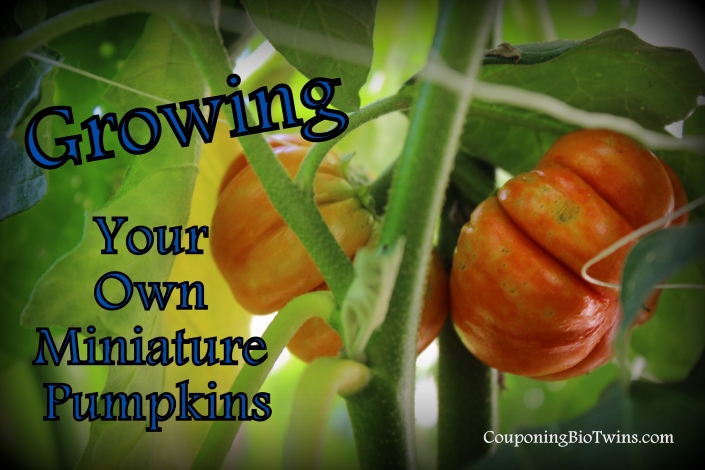
Within a week of planting it had doubled in size. I began to scratch my head every time I looked it, wondering what a pumpkin on a stick looked like at maturity. I finally decided to do a little research on it and see what I was dealing with. It turns out it is an ornamental eggplant. It grows 3 to 4 feet tall. First, small flowers will bloom and then from that, tiny green fruit will spring. As the season goes on, the fruit will grow bigger and change color. Once the fruit have ripened to a deep red-orange color, they are ready for harvesting. Use them to create a wreath for your front door or an arrangement for a table. Just make sure you dry them out first so they last longer. If you don’t have the crafting bug, you can also eat them. Many Asian stir-fry recipes include pumpkin on a stick in the ingredients list.
If you decide to plant some pumpkin on stick here are a few things you should know. Plant 2 to 3 feet apart to allow room for growth expansion. They enjoy full sun but will tolerate partial shade. Fertilize the soil when first planted and then again every month, to keep the soil rich. Make sure the soil stays moist but not wet. Add mulch around the base to keep the weeds at bay. About mid way through the season, stake the plant because once it starts bearing fruit, it will become top heavy.
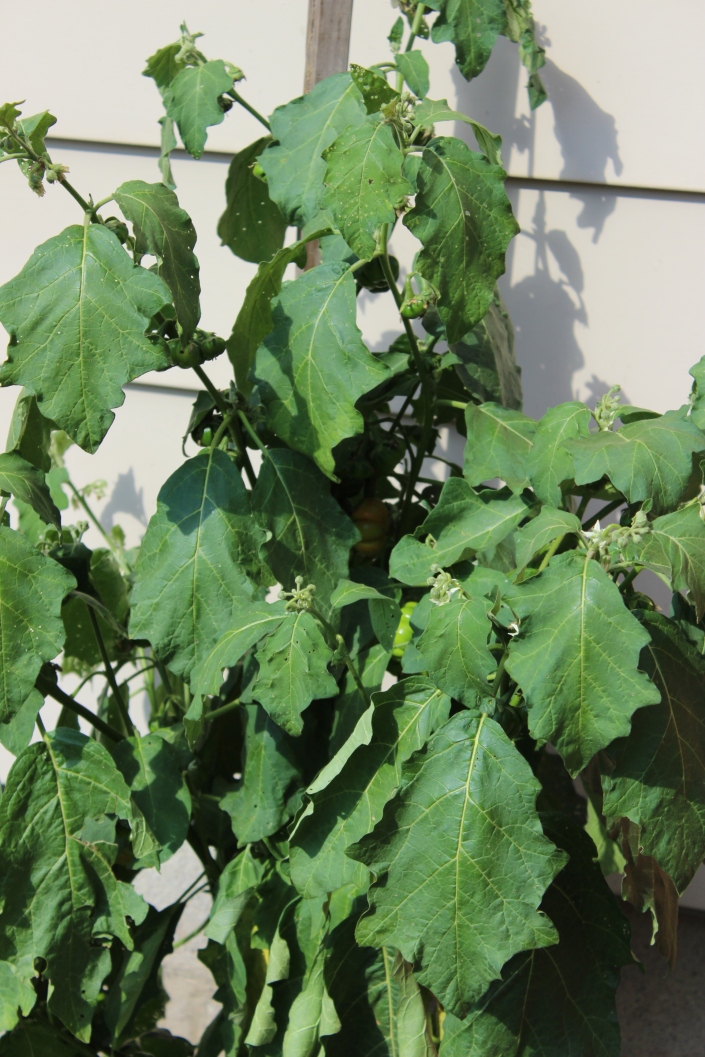
Notice the large leaves. These are to help protect the plants inner core from bugs and other pests.
You can purchase seeds online or check out your local garden retailer.
For more information on growing, check out the Gardner’s Network.
I plan on updating this post with pictures of what I did with my “mini pumpkins” once they are ready to be picked.


